How to Get Rid of Post-Construction Dust Effectively
Post-construction dust is a difficult challenge that follows the thrill of ending a construction or repair job. Fine dust particles from even small remodeling projects stick to surfaces, move through the air, and can lower indoor air quality. It is important to completely remove this dust for hygienic and aesthetic reasons. We’ll show you practical methods in this post to clear out post-construction dust and return your area to its original state.
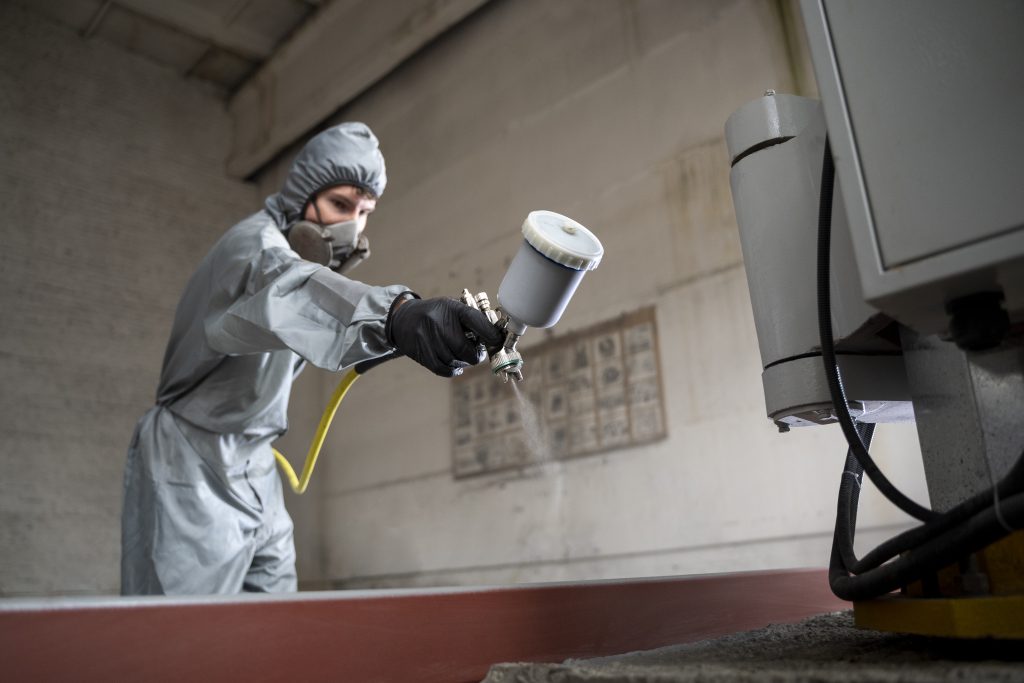
Why is post-construction dust a problem?
Post-construction dust isn’t just unsightly; it poses several risks:
- Health concerns: Fine dust particles, such as silica or drywall dust, can irritate the respiratory system and cause allergic reactions.
- Damage to electronics: Dust particles can infiltrate sensitive equipment like computers and appliances.
- Persistent mess: Without proper cleaning, dust keeps settling for days, making it hard to maintain a clean environment.
That’s why a systematic approach to eliminating construction dust is essential. Let’s dive into the step-by-step guide on how to get rid of it efficiently.
Step-by-Step Guide to Remove Post-Construction Dust
1. Gather the Right Cleaning Supplies
To clean efficiently, you’ll need a few essential tools:
- Vacuum cleaner with HEPA filter
- Microfiber cloths (avoid feather dusters, as they spread dust)
- Mop with microfiber pads
- All-purpose cleaners
- Buckets and water
- Protective gear (gloves, mask, and goggles if needed)
The key to removing post-construction dust effectively is HEPA filtration, which traps tiny dust particles instead of releasing them back into the air.
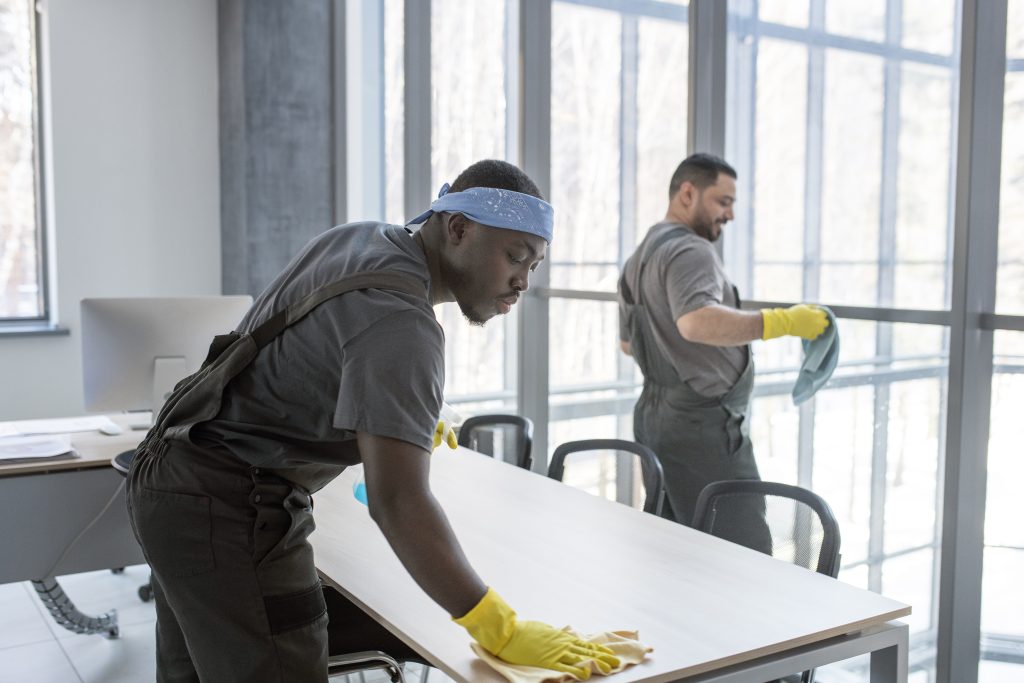
2. Start by Ventilating the Space
Open all windows and doors to improve air circulation. If possible, set up fans to push dust-laden air outdoors. This initial step helps reduce the amount of airborne dust and prevents it from resettling.
3. Use a HEPA Vacuum Cleaner
Begin the cleaning process by vacuuming all surfaces, including:
- Floors and carpets
- Ceilings, walls, and baseboards
- Light fixtures, shelves, and cabinets
A HEPA-filter vacuum cleaner is critical for capturing fine dust particles that regular vacuums might miss. Use the vacuum attachments to reach crevices, vents, and window tracks.
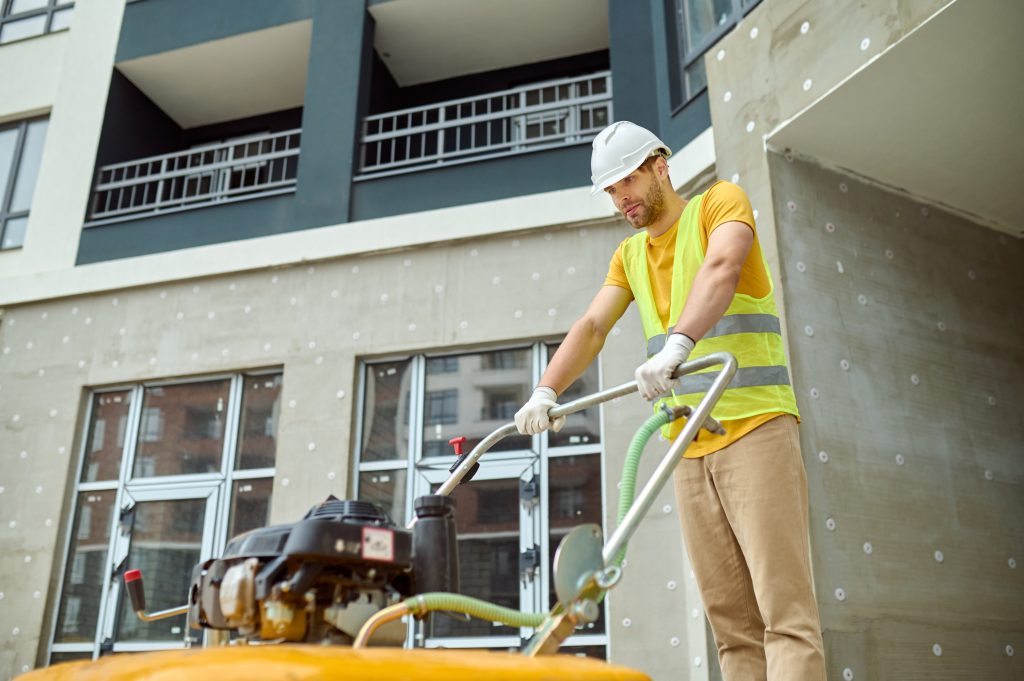
4. Wipe Down Surfaces with Microfiber Cloths
After vacuuming, wipe all surfaces with damp microfiber cloths. Microfiber is more effective than traditional dusting methods because it traps dust rather than pushing it around. Pay close attention to:
- Windowsills and frames
- Countertops and furniture
- Appliance surfaces
Make sure the cloth is slightly damp—too much water can smear dust or damage certain surfaces like wood.
5. Mop the Floors Thoroughly
For hard floors, use a microfiber mop to pick up any remaining dust. Avoid sweeping, as it can stir up dust into the air. Change the mop pads frequently to ensure you’re not spreading dust around. You may need to mop the floors more than once to fully remove the dust.
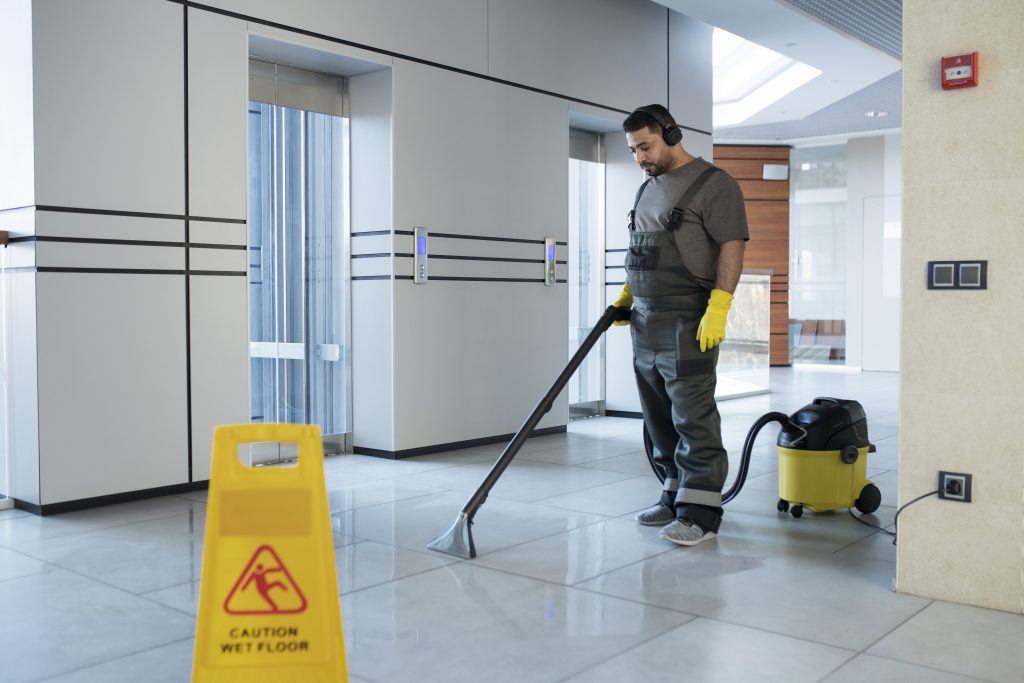
6. Clean Air Ducts and HVAC Filters
Post-construction dust can accumulate in air ducts, vents, and HVAC filters, reducing air quality. Here’s what to do:
- Replace or clean air filters immediately after construction.
- Vacuum air vents and ducts to remove settled dust.
- Consider hiring a professional duct cleaning service if the dust is extensive.
7. Launder Curtains, Linens, and Upholstery
Dust particles tend to settle on soft surfaces, so don’t forget to wash:
- Curtains and drapes
- Pillowcases and bed linens
- Cushions and upholstery
If upholstery isn’t machine-washable, use a fabric-safe vacuum attachment to clean it thoroughly.
8. Monitor the Air Quality
After your initial cleaning, keep an eye on the indoor air quality. Using an air purifier with a HEPA filter can help trap airborne dust particles and improve the air quality over time.
9. Perform a Second Clean a Few Days Later
Despite your best efforts, some dust will settle again within a few days. Plan for a follow-up cleaning session to vacuum, dust, and mop the space once more. This ensures you catch any lingering dust particles.
10. Hire Professional Cleaning Services (Optional)
For large-scale construction projects, or if you’re short on time, consider hiring a post-construction cleaning service. Professionals are equipped with the right tools and expertise to remove all traces of dust quickly and efficiently.
Conclusion
Post-construction dust can be challenging to manage, but with the right tools and techniques, you can effectively restore cleanliness to your space. Start with ventilation, use HEPA-filter vacuums, and clean all surfaces with microfiber cloths to trap fine particles. Remember to address air ducts and filters, as dust tends to linger in the HVAC system. For larger projects, hiring a professional cleaning service may save you time and effort.
By following this guide, you’ll not only eliminate the dust but also enjoy a safe, dust-free environment after your renovation or construction project.

Leave a Reply